How to Apply Lash Clusters at Home
Sydney applies Instant Lash Clusters™ in the style Sultry from start to finish, with no glue and no magnets. Here is how she places, spaces and fixes each one.
Step by step
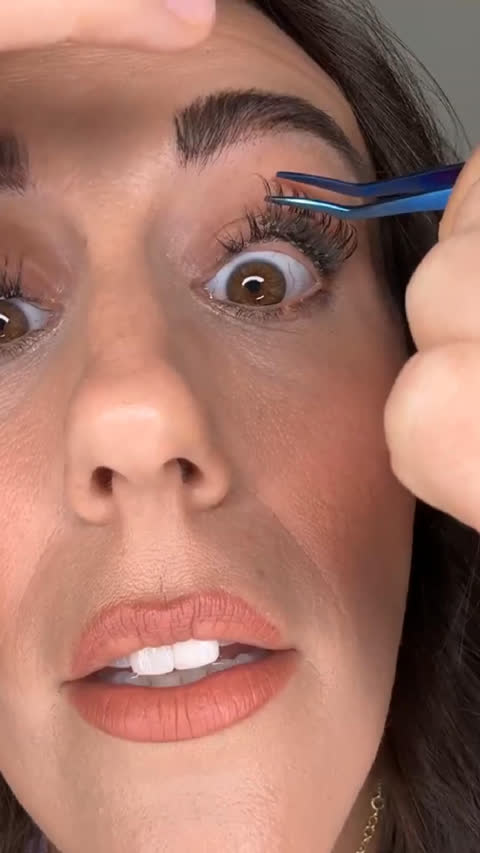
Hold the cluster by the tip
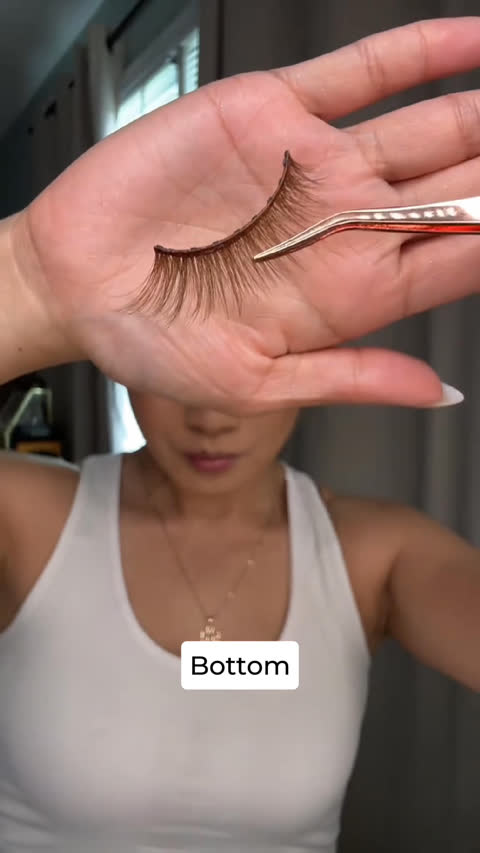
Pick each cluster up by the tips of the lashes, never the band. The band is the sticky part, and it will cling to your applicator if you grab it there.
Place it under your natural lashes
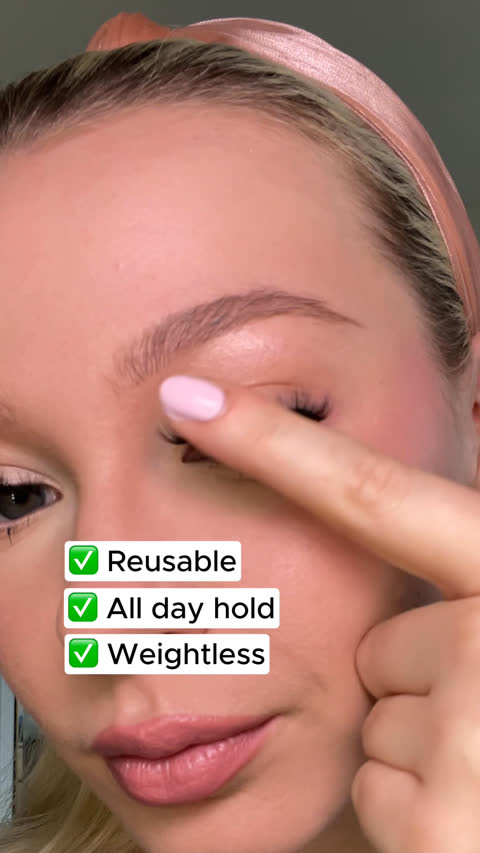
Set the cluster right underneath your natural lashes, then give it a soft press with your fingers so it holds.
Alternate the lengths
Switch between XL and L clusters across the eye for a dimensional look. For more of a cat eye, put two XLs on the outer corner and Ls through the middle.
Overlap them slightly
Let each cluster overlap its neighbor a little for a fuller, seamless line. It helps most at the inner corner, where natural lashes are often sparse.
Reposition if one looks crooked
Lift a cluster off gently and set it back where you want it, then press and hold. There is no glue to peel off.
Keep your applicator clean
Wipe the applicator between clusters so nothing sticky builds up on it and pulls the next cluster off.
Shop this look


Video transcript
Lightly edited for reading.
We’re going to pop it on right underneath your lashes, then press it to make sure it’s on there really well. It’s that easy.
I’m going to alternate the sizes. That gives a really fun, dimensional lash look. I went in with an XL on the outer corner and then an L next to it. Pinch the end of the lashes, just as you would with regular lashes. You want to grab the tip of the lashes, not the band.
If you want a really seamless application, do a slight overlap of the clusters. That gives you a more voluminous, more seamless look. Then I give them a soft press with my fingers.
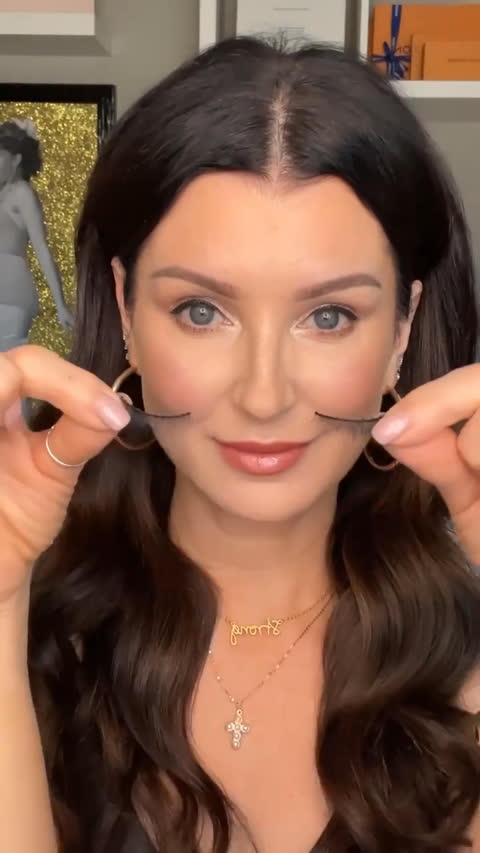
These are Instant Lash Clusters™ from MoxieLash, in the style Sultry. They’re glueless, with no magnets, and they already have everything on them that you need. You don’t need any extra tools: all you need is your lashes and your applicator. There’s no eyeliner and no glue, nothing liquid going on your lashes or your eyelid, so there’s no mess.
If one looks a little crooked when you set it down, you can remove it gently and pop it back into place. Once it’s where you want it, press and hold. I like to give them a good press with my fingers once they’ve been on for a moment, the same as I would with any lash.
You can do this however you want. If you want more of a cat eye than a doll eye, try two XLs on the outer corner and then Ls in the center. Your whole lash look is customizable, so you might have the same clusters as somebody else, but the final look is your own.
I’m going to overlap this one on the inner corner just a little, because I don’t have a ton of natural lashes there. It adds volume and helps everything blend.
One thing I want to be transparent about: the sticky part should only touch your lashes. If it touches your applicator, it can pull the cluster off, especially before it’s had time to set. So grab only the tip, the same as you would with any lash. Wipe your applicator clean between lashes too, so there’s no residue on it.
And if I make a mistake, I take it off and put it back on. I’m not peeling off glue or cleaning magnets. If you consider yourself a beginner and glue and magnets aren’t your thing, these are for you.