Lash Cluster Tips for Beginners
Johnna is on her third application of Instant Lash Clusters™ in the style Lady. These are the small habits that made it easy for her.
Step by step
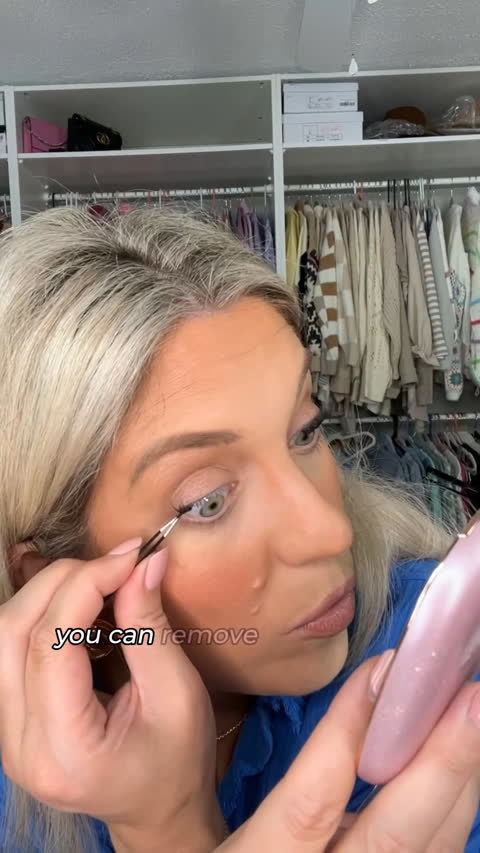
Start at the outer corner
Place your longest length on the outer corner first. After that it’s personal preference: long all the way across, or shorter toward the middle.
Set it next to your waterline, not on it
Line the cluster up underneath your natural lashes, right beside the waterline, and let it settle. A magnifying mirror makes this much easier.
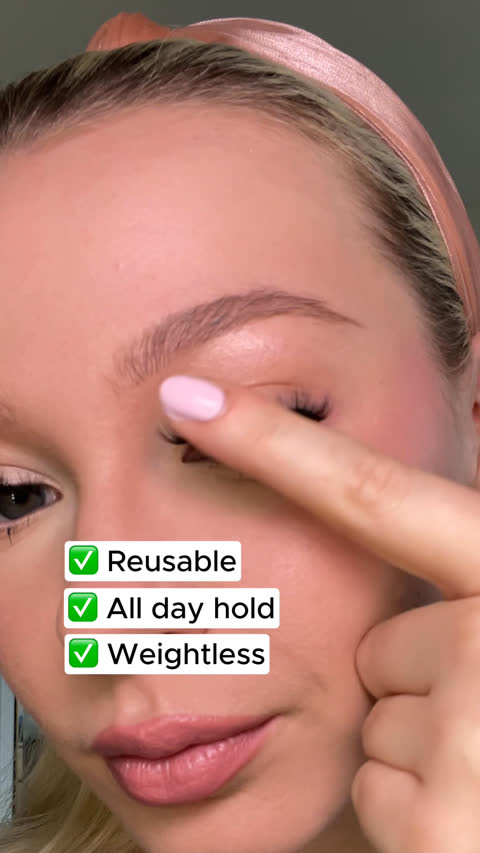
Pinch with your finger first
Do the first pinch with a fingertip so the cluster doesn’t stick to the applicator, then pinch again with the applicator to set it.
Lift each cluster gently
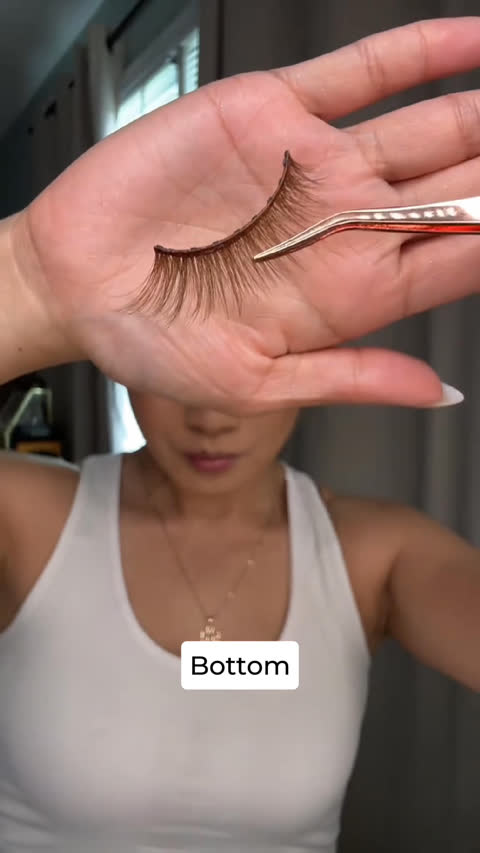
Clusters are delicate. Lift each one off the tray with the applicator instead of pulling it.
Lay the next one right beside it
Place each new cluster close to the last one. A slight overlap is optional. Johnna found four clusters per eye was plenty.
Keep the last one off the inner corner
Overlap your final cluster with its neighbor rather than going further in, so it doesn’t poke your eye. Finish with a pinch all the way across, and give them another pinch each morning.
Shop this look


Video transcript
Lightly edited for reading.
I’ve done cluster lashes in the past where you have to use a mascara-like bond, and it’s sticky and thick and gets everywhere. It’s a messy process. This is so much more convenient.
Start at the outer corner and line the cluster up underneath. You don’t want to put it on your waterline; you want it right next to it. Set it there and it will start to stick.
Then I like to use my finger. When I pinch with the applicator first, the cluster can stick to the applicator a little, so I’ve learned to do that first pinch with my finger. It sticks perfectly, and then I go in with the applicator and give it a nice pinch.
I like to put my longest lash on the outer corner. That’s just personal preference. You’ll learn whether you like them long all the way through or shorter, so play around with the different sizes and styles. Next I’m going in with the medium.
Be careful when you grab the lashes. They’re dainty, so don’t yank them; gently lift each one with the applicator. Then I lay it right next to the one I just did. Sometimes I overlap them a little, sometimes I don’t.
This is only my third time applying them, and it’s already getting easier. It isn’t hard. You just have to learn how sticky they are and how many clusters you need. For me, four clusters is plenty. Have a mirror with you so you can get up close. If you have a magnifying mirror, even better.
In the morning I give them a really good pinch all the way through. I’ve showered in them, worn makeup and taken it off, and gone for walks and sweated, and they stay on.
On the last one I overlap a little with the one next to it, so I don’t go too far into the inner corner. A lash that sits too close to the inner corner can poke you. Then I give them all a nice pinch, and they’re on.
I’m wearing the style Lady. These are the Instant Lash Clusters™. MoxieLash also makes Lashies™, which go on with Nano-Grip™ liner, and those are great too.